~ Sizzle Up Your Summer With Our BBQ Tips & Trick ~

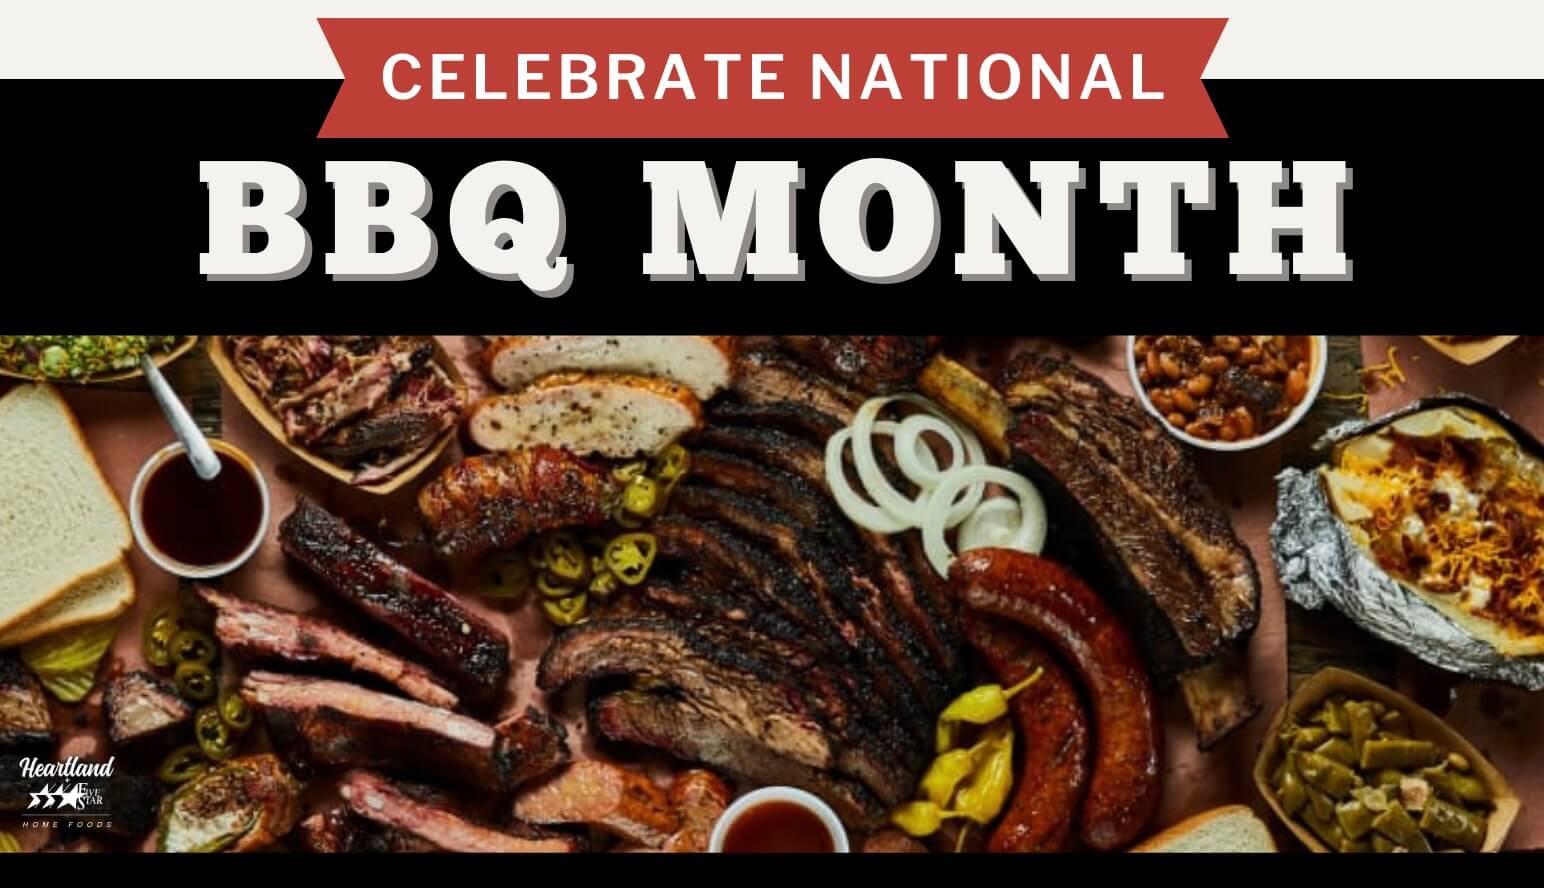
ay is National BBQ Month, a time to celebrate and indulge in one of America’s favorite culinary traditions: barbecue. Whether you’re a fan of Texas brisket, Memphis-style ribs, or Kansas City burnt ends, this month is the perfect time to fire up the grill and enjoy some delicious barbecue with friends and family.
A Barbecue History Crash Course
Americans like to think that barbecue is an American tradition, right up there with apple pie and baseball. Barbecue has been a part of American culture for centuries, and its roots can be traced back to Native American and African American culinary traditions. Native American tribes in the southeastern part of the country were known to cook meat over open fires, and European settlers brought their own methods of cooking meat to the region. In the southern United States, barbecue became a popular way to cook pork in the 19th century. The cooking process involved slow-smoking the meat over hickory or oak wood and then basting it with a sauce made from vinegar, tomato, or mustard. As barbecue spread throughout the country, different regions developed their own distinct styles.
Tips & Tricks from the Grill Master:
We believe the heart of grilling lies in grilling techniques. What separates the master grillers from the masses is that the experts understand how to manage their grill.
Sure, recipes are important, but techniques matter most. Thus, here are the 10 essentials for better grilling. Follow these tips and you will become a true BBQ master.
- PREHEAT THE GRILL
Preheat your grill with the lid closed for 10 to 15 minutes.
With all the coals glowing red, or all the gas burners on high, the temperature under the lid should reach 500F. The heat loosens any bits and pieces of food hanging onto the grate, making it easy to brush them off. Preheating your grill also helps prevent food from sticking to the grate, and gets the grate hot enough to sear properly.
- KEEP YOUR GRILL CLEAN
When bits of food have stuck to your cooking grate, and the grate is hot, clean it with a stainless steel brush. This step is not only for cleanliness. It also prevents your food from sticking.
Note: Replace brush if any loose bristles are found on cooking grates or brush.
- KEEP THE GRILL LID DOWN
Here are 4 important reasons why your grill lid should be closed as much as possible.
- It keeps the grates hot enough to sear the food.
- It speeds up the cooking time and prevents the food from drying out.
- It traps the smokiness that develops when fat and juices vaporize in the grill.
- It prevents flare-ups by limiting oxygen.
- GRILLING TIME AND TEMPERATURE
By monitoring your time and grilling temperature you avoid overcooking your food.
Use a timer! If you are grilling in a colder climate or in a higher altitude, the cooking times will be longer. If the wind is blowing hard, it will lower a gas grill’s temperature and raise a charcoal grill’s temperature.
- DIRECT VS. INDIRECT HEAT GRILLING
Direct heat (when the fire is directly below the food) is best for relatively small, tender pieces of food that cook in 20 minutes or less.
Indirect heat (when the fire is on either side of the food) is best for larger, tougher cuts of meat that require more than 20 minutes of cooking.

- MAINTAINING GRILL TEMPERATURES
Most grills are designed to give you complete control over the heat inside of the grill. By having consistent, reliable heat source and proper venting, the grill can maintain low or high temperatures effectively.
The dampers on the top and bottom of the grill control the airflow inside the grill. The more air flowing into the grill, the hotter the fire will grow and the more frequently you will have to replenish it. To slow the rate of your fuel burning, close the top vent as much as halfway and keep the lid on as much as possible. The bottom vent should be left open whenever you are grilling so you don’t kill your fire.
Under normal circumstances, a typical charcoal briquette fire will lose about 100˚F of heat over 40 to 60 minutes. A typical lump charcoal fire will lose heat even faster.
Gas grills have individual control knobs so that you can easily regulate the heat and create different grilling zones easily. You can easily maintain heat levels as low as 200˚F to over 550˚F easily and shift from direct to indirect in minutes.
- TAME THE FLAME
Too many flare-ups can burn your food. Keep the lid on as much as possible. This limits the amount of oxygen inside the grill, which will help extinguish any flare-ups.
If the flames are getting out of control, move the food over indirect heat temporarily, until they die down. Then move the food back.
- CARAMELIZATION IS KEY
One of the biggest reasons for the popularity of grilled food is its seared taste.
To develop this taste for maximum effect, use the right level of heat and resist the temptation to turn food often. Your patience will allow for caramelization, or browning. That creates literally hundreds of flavors and aromas. As a general rule, turn food only once.
- LIGHTER FLUID: NO WAY!
It’s a liquid product that evaporates. Who wants that, and its foul chemical fumes under their food? Chimney starters and lighter cubes are much cleaner and much more effective.
Celebrate National Barbecue Month With Some of Our Favorite Recipes
We have a few of our most cherished recipes here for you. Maybe it’s an opportunity to try something different, or maybe you want to try a new take on a classic. Either way, you’ll find inspiration from these fantastic recipes curated by your favorite farm-to-freezer family, Heartland Foods.
Ingredients:
For the rub:
- 4 teaspoons sweet paprika
- 1 tablespoon brown sugar
- 1 tablespoon salt
- 1 teaspoon black pepper
- 1 teaspoon white pepper
- 1 teaspoon dry mustard
- 1 teaspoon garlic powder
- 1/2 to 1 teaspoon cayenne pepper
- 8 pounds Cheshire Heritage Farms Bone-in Pork Shoulder (aka Boston butt)
Lexington Vinegar BBQ Sauce Recipe:
- 1 Gallon Cider Vinegar
- 1 ⅓ Cups Crushed Red Pepper
- 2 Tablespoons Black Pepper
- ¼ Cup Salt
Lexington Slaw:
- 1 head of medium-sized cabbage
- 1 Cup of Lexington Vinegar BBQ Sauce
- Coarse salt


Instructions:
- Make the rub: Place the paprika, brown sugar, salt, black pepper, white pepper, mustard, garlic powder, and cayenne in a small bowl and stir to mix. (if you don’t have sensitive skin, your fingers work better for mixing a rub than a spoon or whisk does.) Set aside 1-1/2 tablespoons of the rub for the Lexington Vinegar Sauce. Sprinkle the remaining rub all over the pork, patting it onto the meat with your fingertips.
- Set up the grill for indirect grilling and preheat to medium-low. If using a gas grill, place all of the wood chips or chunks in the smoker box or in a smoker pouch and run the grill on high until you see smoke, then reduce the heat to medium-low.If using a charcoal grill, place a large drip pan in the center, preheat the grill to medium-low, then toss 1 cup of the wood chips or chunks on the coals.
- When ready to cook, place the pork, skin side up, if there is one, in the center of the hot grate, over the drip pan and away from the heat, and cover the grill. Cook the pork until darkly browned on the outside and very tender inside, 4 to 6 hours. To test for doneness, use an instant-read meat thermometer: The internal temperature of the pork should be about 195 degrees. (Yes, this is very well-done—that’s how you get the pork tender enough to pull.) If the pork starts to brown too much (and it probably will), cover it loosely with aluminum foil, but remember that those browned bits are good, too. If using a charcoal grill, every hour you’ll need to add 12 fresh coals and 1/2 cup of wood chips or chunks to each side.
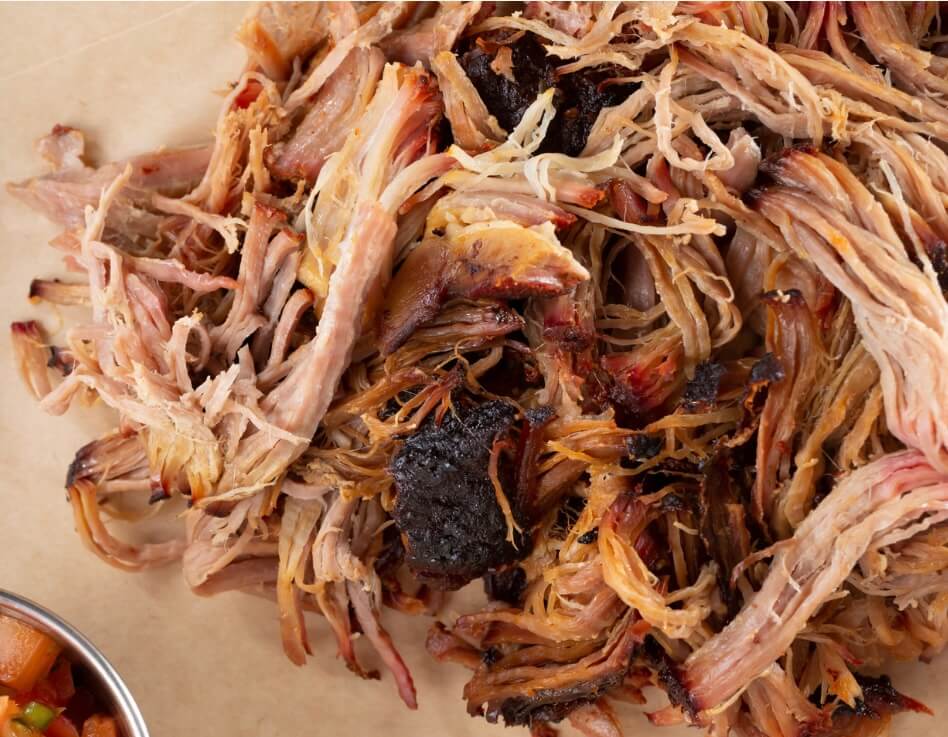
- Transfer the cooked pork to a cutting board, cover it loosely with aluminum foil, let it rest for 20 minutes, then pull the pork into large pieces, discarding any bones or lumps of fat (you’ll probably want to wear latex gloves or even heavy-duty insulated rubber gloves to do this). Using your fingertips or a fork, pull each piece of pork into thin shreds. Or use a cleaver to finely chop it. Transfer the pulled pork to a large aluminum foil pan and stir in 1 to 1-1/2 cups of the Lexington Vinegar Sauce—enough to keep the meat moist. If you are not quite ready to serve, cover the pan with aluminum foil and place it on a warm—not hot—grill or in an oven turned on low to keep warm.
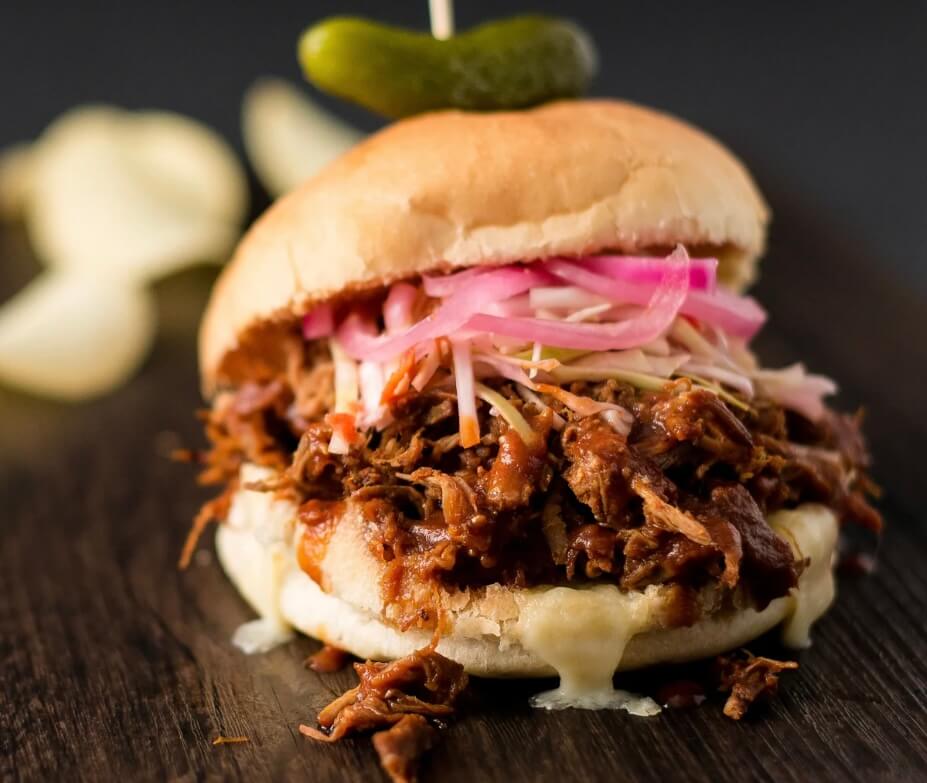
- To serve, have your guests mound the pulled pork onto hamburger buns. Top with Lexington Slaw and let everyone add additional vinegar sauce to taste.


